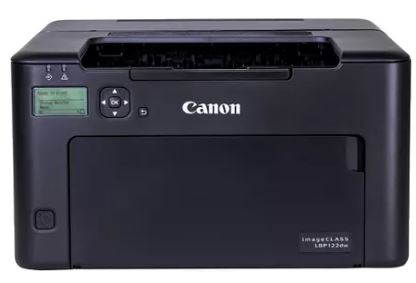
How to Connect Printer to Wi-Fi
The Canon imageCLASS LBP122dw comes with built-in Wi-Fi, which allows you to connect it to your wireless network and print from anywhere in your home or office. Here’s how to connect the Canon imageCLASS LBP122dw to Wi-Fi:
- Press the Power button on the printer to turn it on.
- Press and hold the Wi-Fi button on the printer until the indicator light flashes.
- Press the WPS button on your wireless router within 2 minutes.
- The Wi-Fi indicator light on the printer should turn on when the printer is connected to your wireless network.
- Insert the installation disc that came with the printer into your computer’s CD drive.
- Follow the on-screen instructions to install the printer driver and connect the printer to your computer.
- Once the printer is connected to your computer, you should be able to print wirelessly from any device on your network.
Canon imageCLASS LBP122dw Driver
Windows 64bit – Generic Plus UFR II Printer Driver
Canon imageCLASS LBP122dw – UFR II/UFRII LT Printer Driver & Utilities for Mac
UFR II/UFRII LT Printer Driver for Linux – Canon imageCLASS LBP122dw
If your router does not have a WPS button, you can still connect the printer to your wireless network by entering your network information manually. Refer to the user manual that came with your printer for detailed instructions on how to do this.